The usual questions every Project Manager asks herself in the morning are these:
- What did we accomplish yesterday?
- Are there any new requirements from the customer?
- How did our team members spend their time yesterday, and were there any problems?
In Targetprocess it is possible to build a Yesterday dashboard screen with the answers to all these questions.
This article describes how to create a dashboard with 3 views embedded:
- Detailed list of recently completed entities
- Detailed list of recently added entities
- Detailed list of recently added time records
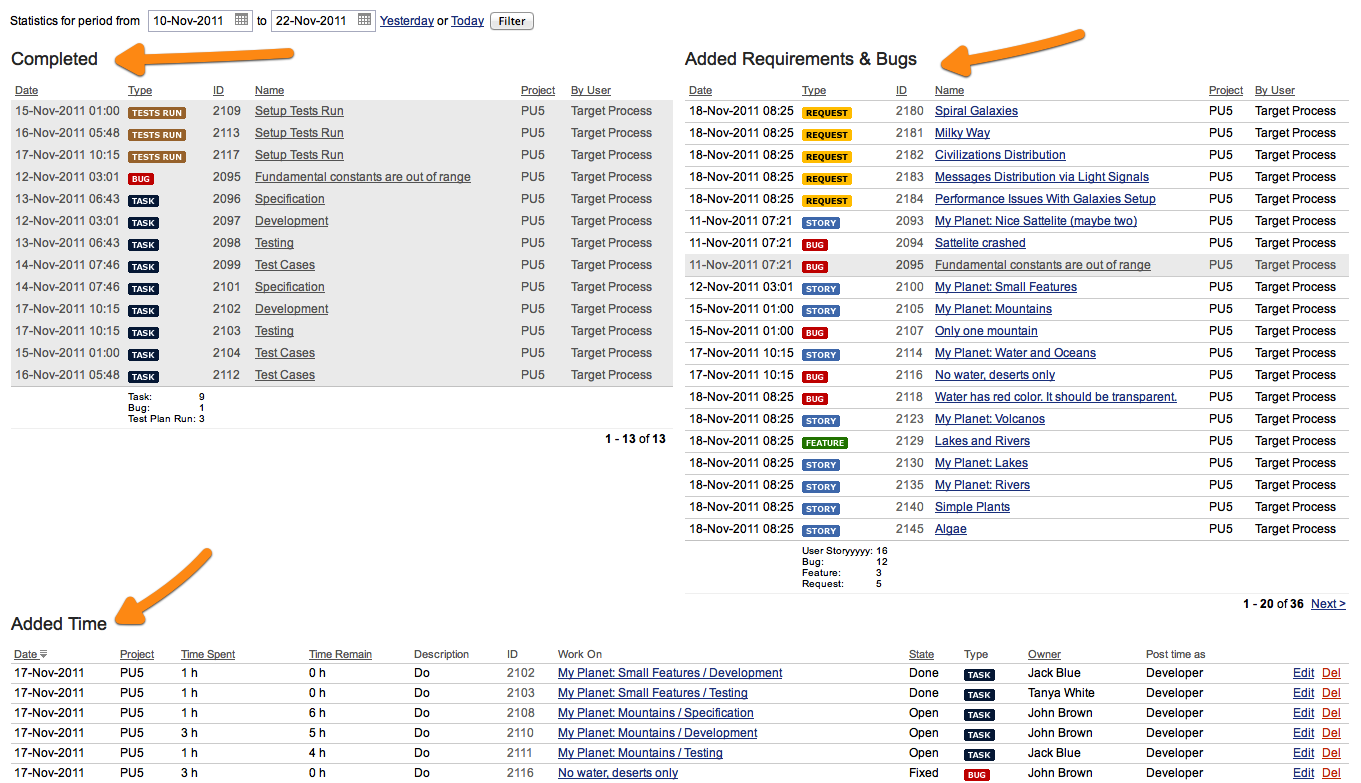
This dashboard serves as a replacement for the obsolete Yesterday report from the TP2 era, cancelled now:
Creating a Yesterday dashboard step by step
The dashboard should be configured once by an Administrator. It can be viewed by any Targetprocess user.
Create a folder for the dashboard and its views
Let’s create a folder in the left menu and give it a name: “Yesterday”.
The folder appears in the list of views and folders. Press … near its icon and rename it to Yesterday.
Now we’ll create and add 3 list views to it.
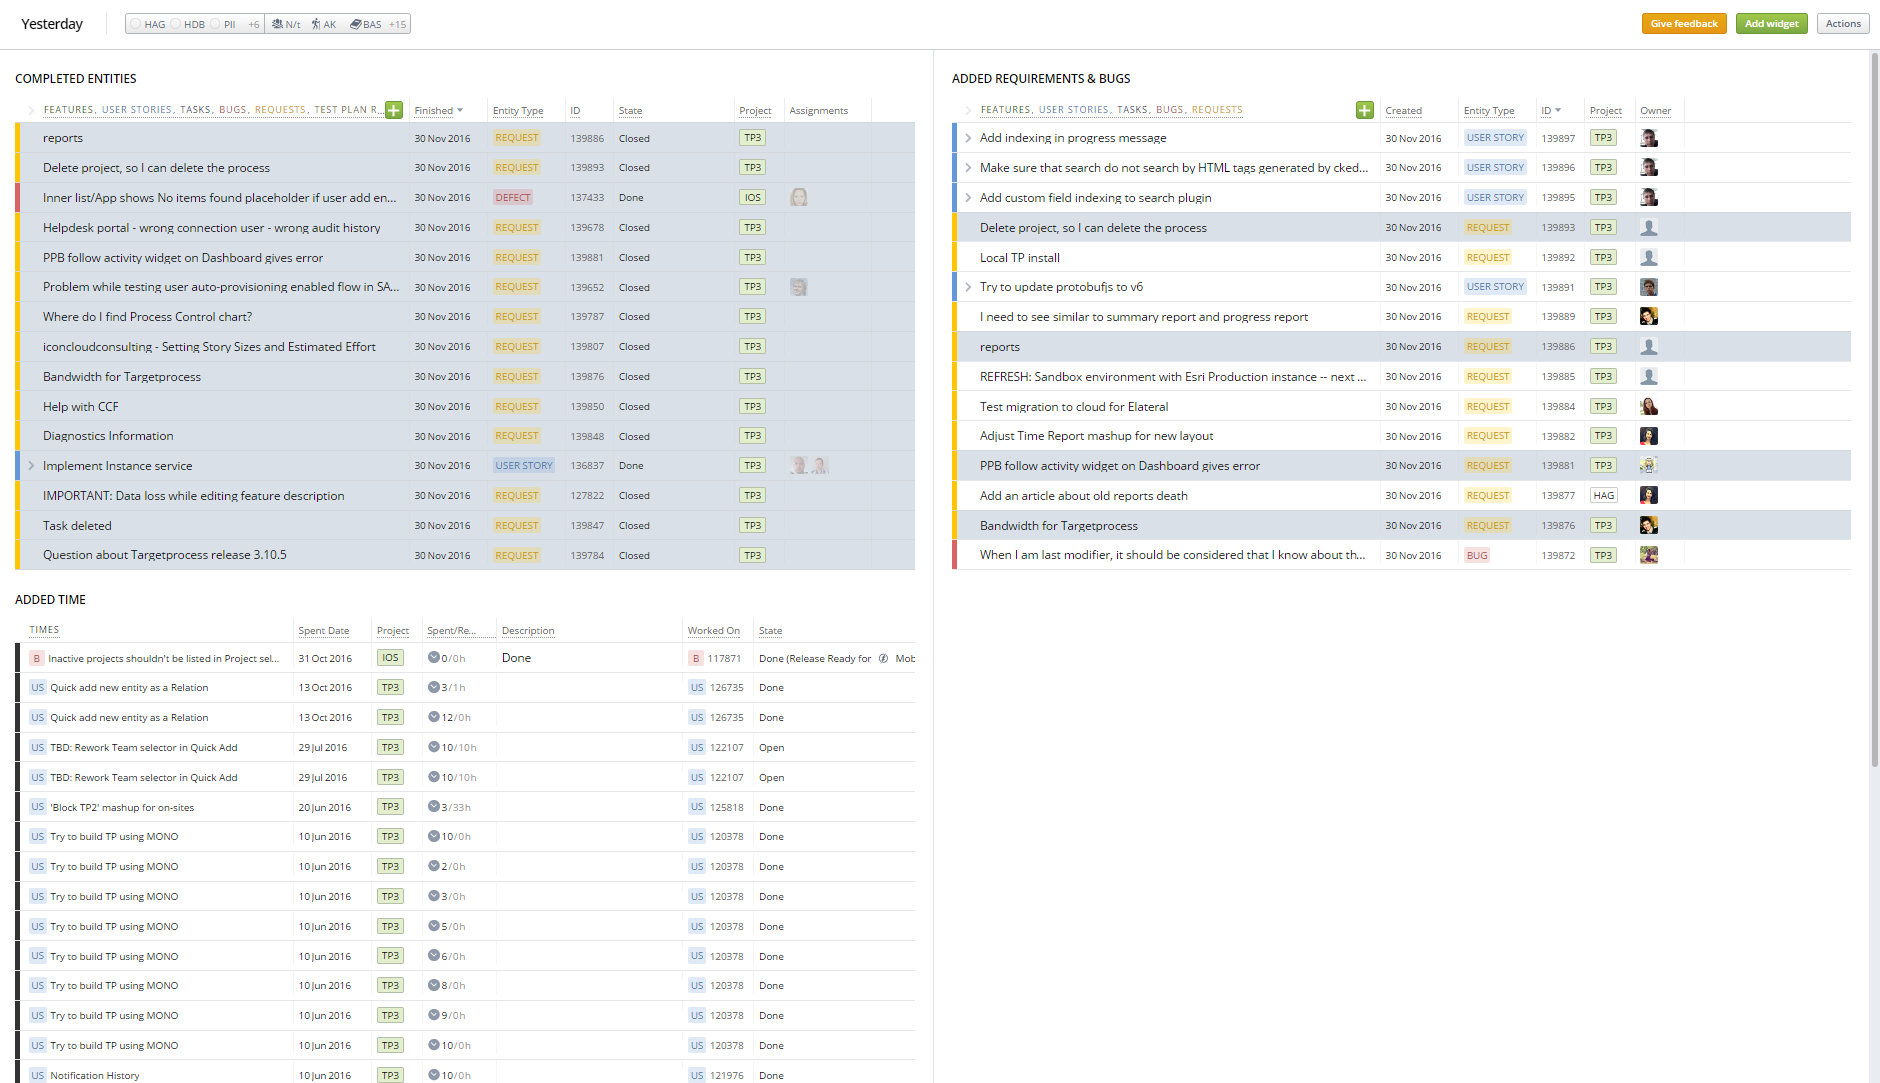
Create a list view for Completed entities
In the left menu, click + Create > List.
In the header, rename the list to Completed entities.
In Setup tab, select the cards you want to see. We recommend selecting the Feature, User Story, Task, Bug, Request, and Test Plan Run entities.
Set Portfolios (Projects) and Teams to ‘Not specified’ by clearing [X] the current selection. These settings will be further overridden by the Portfolios (Projects) and Team selection for the whole dashboard.
We are only interested in complete items. Apply a filter to cards for this purpose. Done cards can be shown with this filter:
?EntityState.IsFinal is true
We also have to specify a date range for completed entities. Let's say we only want to display entities completed in the current Iteration. It is possible within additional case for this filter:
?(Iteration is Current) and (EntityState.IsFinal is True)
Filtering by completed cards in the current Release or Team Iteration is done in the same way.
?(EntityState.IsFinal is True) and (Release is Current)
?(EntityState.IsFinal is True) and (TeamIteration is Current)
If you don’t use Iterations and Releases, you can filter out done items within a given date range.
For example, the following filter you allows to only show cards that were completed within the last 4 weeks:
?EndDate >= Today - 4(weeks)
This alternative one shows only entities done today and yesterday:
?EndDate >= Today - 1(days)
Let’s customize columns for this list. As with our old Yesterday report, we’re interested in: End Date, Type, ID, Name, Portfolio (Project) and By User fields. Using the Customize Cards tab, we can add the following units:
- Name (always goes first)
- Finished
- Entity Type
- ID
- Portfolio (Project) abbreviation
- Assignments (replacement for By User column)
More helpful units are also available for selection.
Press the Finish setup button. Adjust the widths of the columns to your liking. Here is the list we’re ready to use:
In the left menu, drag this list from the bottom and drop it into the Yesterday folder.
Create list view for Added Requirements & Bugs
In the left menu, click + Create > List.
In the header, rename the list to Added Requirements & Bugs.
In the Setup tab, select the cards you want to see. We recommend selecting Feature, User Story, Task, Bug, and Request entities.
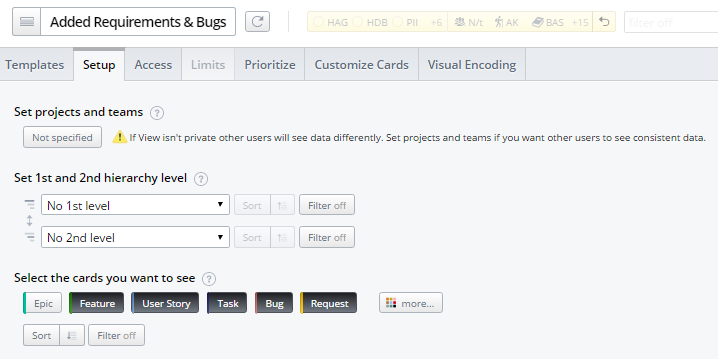
Set portfolios (projects) and teams to ‘Not specified’ by clearing [X] current selection. These settings will be further overridden by portfolio (project) and team selection for the whole dashboard.
We are only interested in added items. Apply a filter to cards for this purpose. We'll have to specify a range for the creation date.
For example, the following filter allows you to only show cards added within the last 4 weeks:
?CreateDate >= Today - 4(weeks)
This one shows only entities created today and yesterday:
?CreateDate >= Today - 1(days)
Let’s customize columns for this list. As with the old Yesterday report, we’re interested in: Creation Date, Type, ID, Name, Portfolio (Project) and By User fields. Using the Customize Cards tab, we can add the following units:
- Name (always goes first)
- Created
- Entity Type
- ID
- Portfolio (Project) abbreviation
- Owner (replacement for By User column)
More helpful units are also available for selection.
Press the Finish setup button. Adjust widths of the columns. Here is the list we’re ready to use:
In the left menu, drag this list from the bottom and drop it into the Yesterday folder.
Create list view for Added Time
In the left menu, click + Create > List.
In the header, rename the list to Added Time.
In the Setup tab, select Time as the cards you want to see.
Set portfolios (projects) and teams to ‘Not specified’ by clearing [X] the current selection. These settings will be further overridden by portfolio (project) and team selection for the whole dashboard.
We are only interested in time records added within a given range. You can apply a filter to cards for this purpose. We have to specify a range for the date field. We do not filter by creation date because users might not report time on the same day where time was spent.
The following filter allows you to show time records related to the last 4 weeks only:
?Date >= Today - 4(weeks)
This one displays only time records reported for yesterday and today:
?Date >= Today - 1(days)
Let’s customize columns for this list. As with our old Yesterday report, we’re interested in: Date, Portfolio (Project), Time Spent, Time Remain, Description of time record, details of an entity the work was done on: ID, Name, State, Type, and details of the user who reported the record: first and last name and role. Using Customize Cards tab it is possible to add the following units:
- Work on Entity ID and Name (always goes first)
- Spent Date
- Portfolio (Project) abbreviation
- Spent/Remaining
- Description
- Worked On
- Entity state
- User (including Role as well)
- Role (standalone, if needed)
More helpful units are also available for selection.
Press Finish setup button. Adjust widths of the columns. Here is the list we’re ready to use:
In the left menu, drag this list from the bottom and drop it to the Yesterday folder.
Create dashboard and organize list views
Time is to put all 3 lists onto single screen. Create new dashboard for this purpose. In left menu, click + Create > Dashboard.
In the header area, rename the dashboard to Yesterday. In the Setup tab, select a two-column layout for your dashboard. Select portfolios (projects) and teams containing data which should be shown on this dashboard.
In the Widgets tab, let’s add 3 Any List View widgets to the columns of the dashboard.
Then press the Finish setup button. This is how the blank dashboard should look:
Now let’s embed existing 3 list views to the widgets, one by one. Captions of the widgets are changed automatically as soon as we choose a list from a dropdown.
In the settings for each widget it is possible to select how many top elements the list should contain. Top 10 is selected by default, but it can be increased to 30 as maximum.
All list views can be sorted independently by values in columns. Click on the column header to do this.
Here is how the resulting dashboard will look:
Now put the dashboard into the Yesterday folder of views above the detailed views.
Access to Dashboard
The Yesterday folder and Yesterday dashboard inside of it appear in the left menu for all users with whom you have shared them. You and your users can always open the dashboard to see the overall picture. It is also possible to browse detailed lists in the folder if any additional details are needed.
Change access permissions
Hover over the name of the folder and press the … button next to it so you can customize Access to the folder, its dashboard, and the views in it all at once.
All views will inherit access permissions from the folder. You can make the reports completely public, or share them only with members of the selected portfolios (projects) and teams.

Save access settings for folder and its views.
Changing filters applied to dashboard and its views
Filtering data by Portfolios (Projects) and Teams
If you want to let the reports show you data from other portfolios (projects) and teams, just change the selection in the dashboard header or view header.
All users are allowed to change the currently selected portfolios (projects) and teams. Selection is privately saved and does not affect other Targetprocess users.
Filtering data by date range
If you need to change date range, you have to modify saved filters in the settings of each view.
Only the view owner or an Administrator can modify saved filters. Modified filter and setup of the view are applied to all users in Targetprocess application.
Open the view in the left menu and press Actions > Set up view.
Then open Setup tab, update the saved filter, press Finish setup button.
Re-using a dashboard and its views
Re-using in other Portfolios (Projects) and Teams
If you need to track multiple portfolios (projects) separately, we recommend creating a dashboard of this kind for each of your portfolios (projects). Embed these views to a newly created dashboard. Set another selection of portfolios (projects) and teams to the new dashboard.
Re-using with other filters
To create views with modified and permanently preserved filters, use the Actions > Clone view menu action. Save the updated filter in the settings of the copied view and rename the view to distinguish it from other ones. Then embed the modified view to your dashboard if needed.
Still have a question?
We're here to help! Just contact our friendly support team
Find out more about our APIs, Plugins, Mashups and custom extensions. Join our community of passionate users and even discuss directly with our developers.