Brief summary of this article:
A dashboard in Targetprocess is a single page that groups a set of widgets, views, and reports. A dashboard provides a brief overview of the current state of progress at various levels.
Dashboards are a great way to track progress on various levels. For example, with our dashboard tool, you can view the progress of several projects, such as QA or Help Desk activities. In the Use Cases section, we reveal more detailed scenarios to help provide additional context.
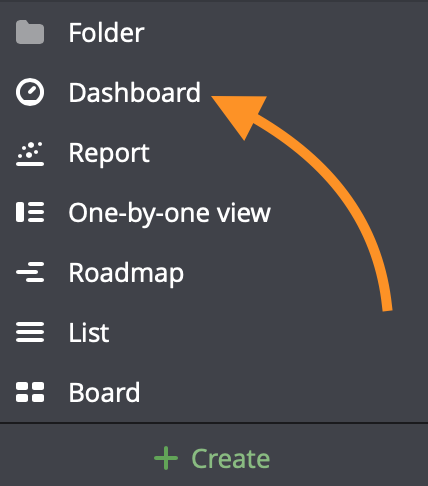
Create a dashboard
Dashboard creation is similar to standard view creation. Click on +Create at the bottom lefthand corner and select the Dashboard option from the menu:
You will now see an empty dashboard:
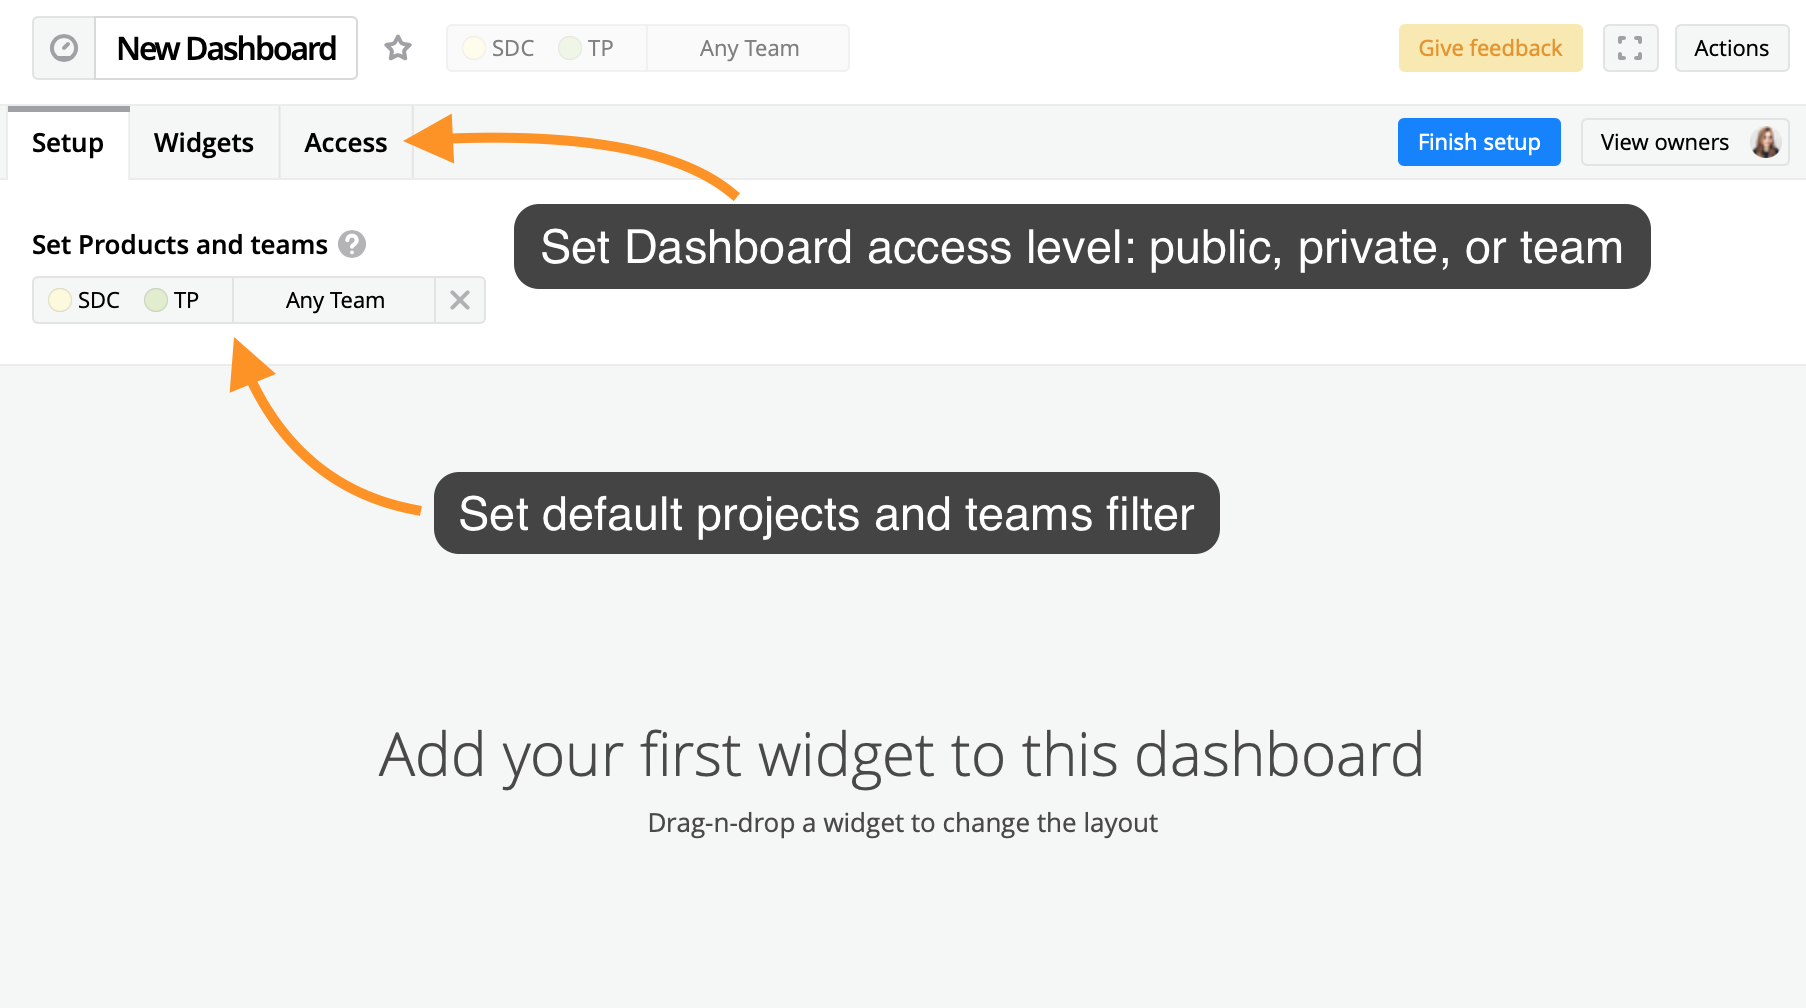
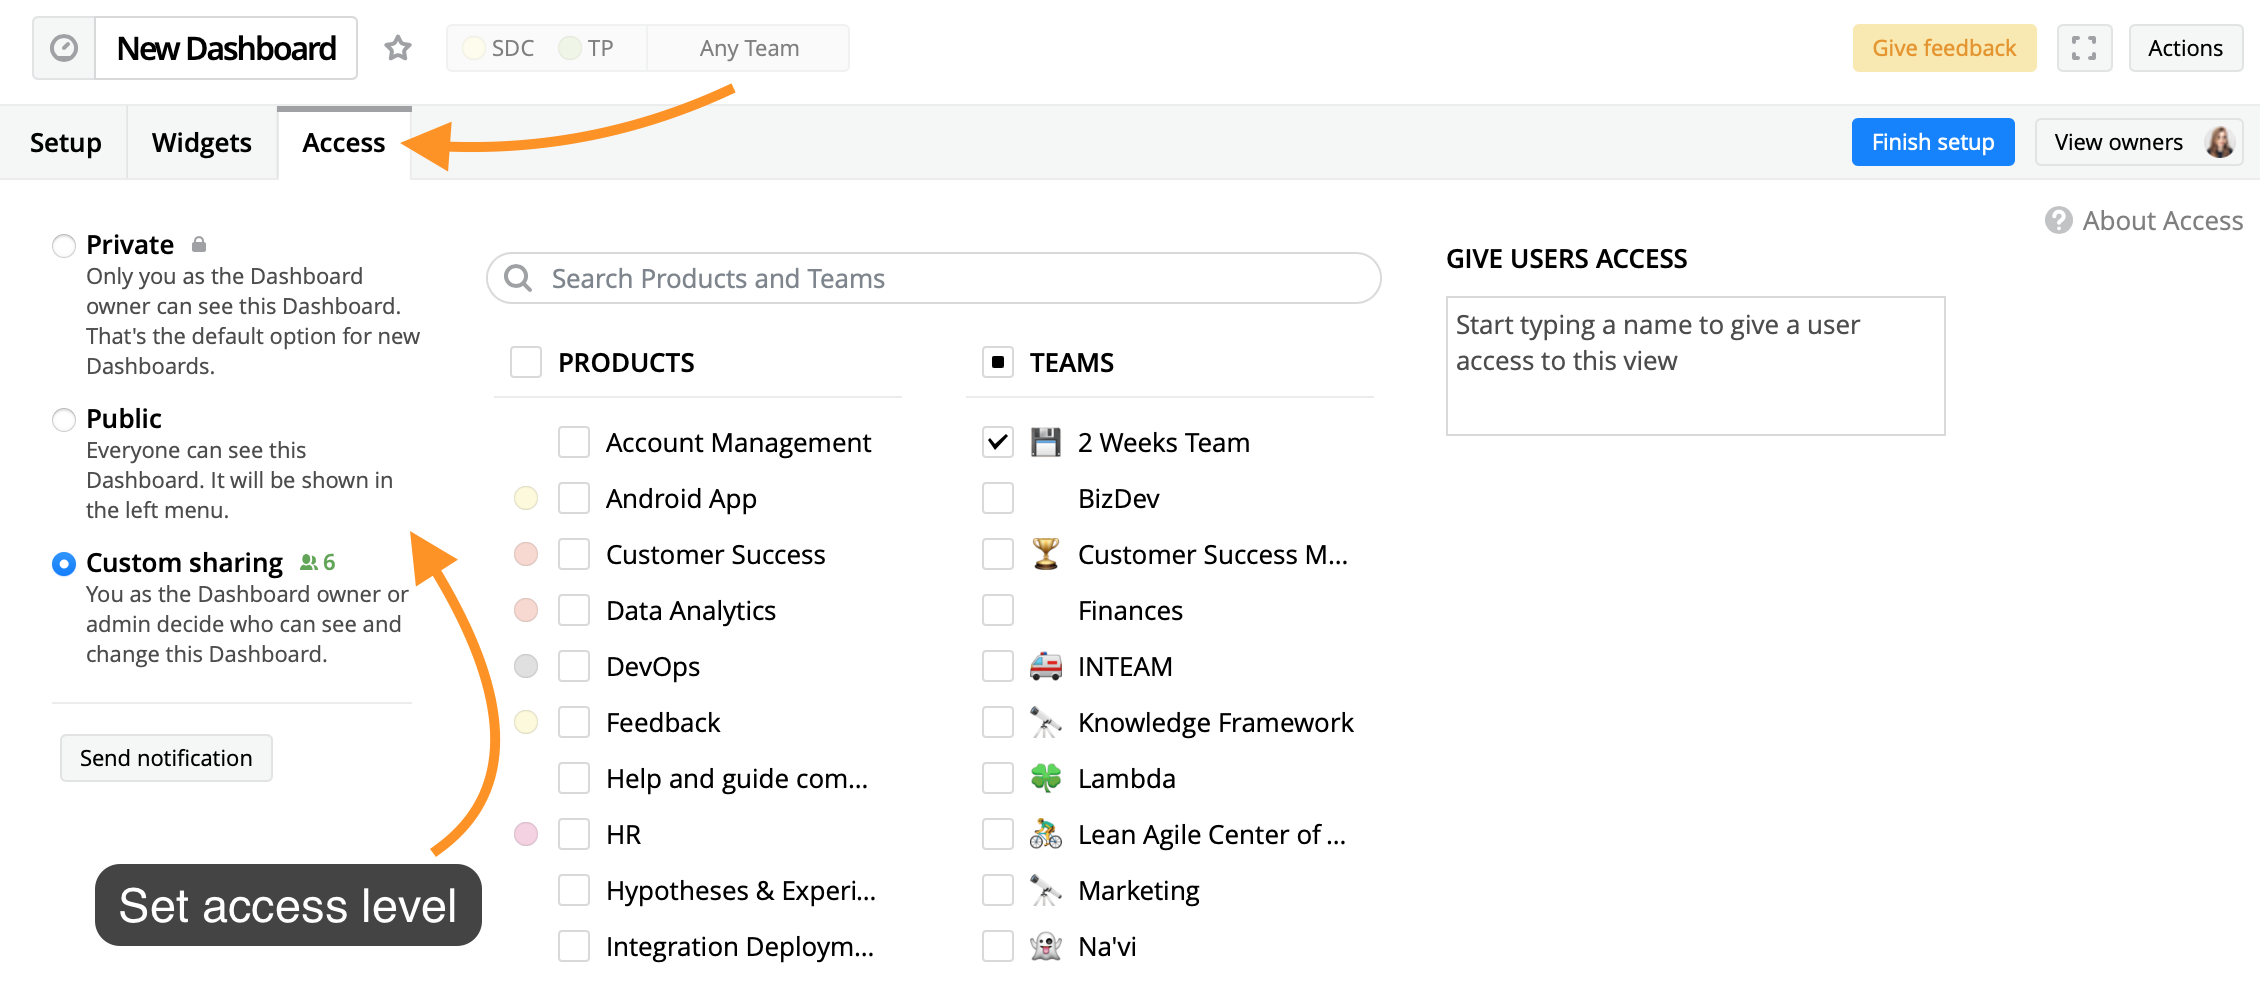
Access level
You can set the access level from the Access tab. There are three options, just like with views:
Typical scenarios:
- Private. If the dashboard is only for you, then make it private. This makes it invisible to all other users.
- Public. Only a Targetprocess Admin can make public dashboards. Public dashboards are visible to all users in your organization.
- Team/Project. You may need a dashboard for a specific Team or Project. If so, use the custom sharing option and select the relevant groups.
Widgets
Dashboard software is useless without widgets, so we have plenty of them. You can add the same widget to a dashboard several times. For instance, let's say that you want to see Burndown charts for two iterations at the same time. Just add two Burndown chart widgets to a dashboard and select different iterations from the widgets’ settings.
To add a widget, click the Widgets tab to see all your options:
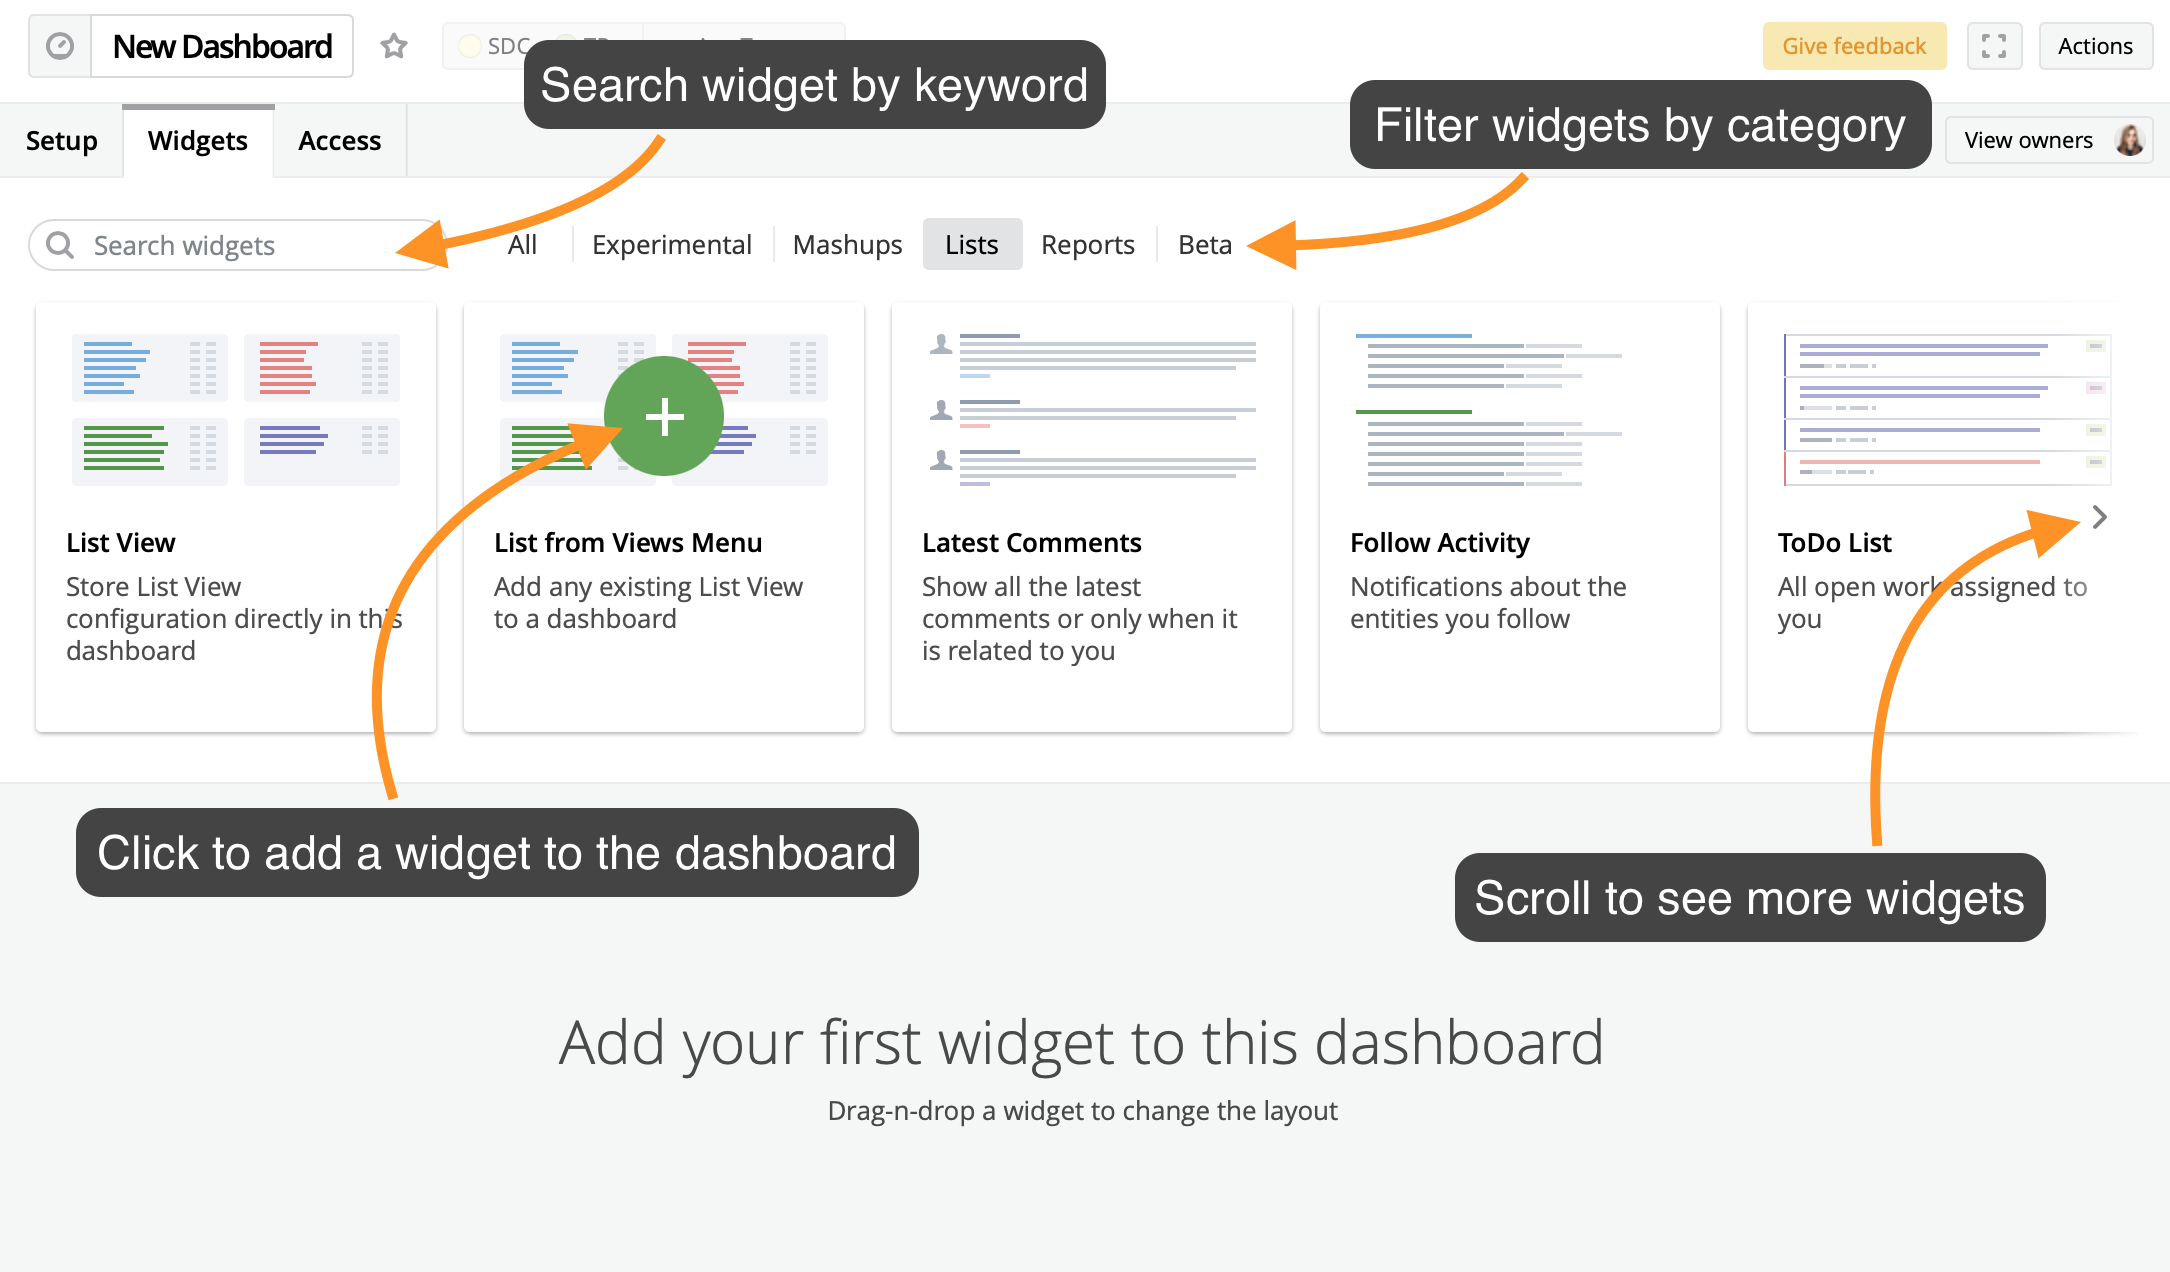
To add a widget, find the required widget and click the large green + button. By default, the new widget is positioned on the full width of the dashboard. You can always reposition widgets later using drag-n-drop.
Or you can drag-n-drop a list view or a report from the lefthand menu to a dashboard.
When you are done, click on 'Finish setup' at the top righthand corner.
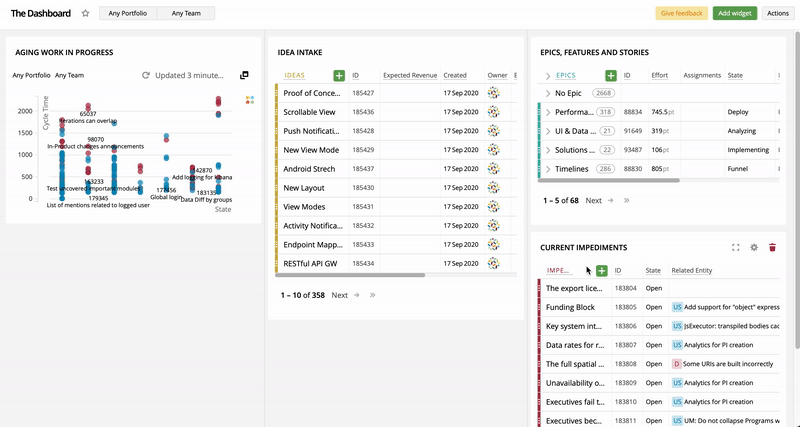
Now you can see a dashboard with widgets:
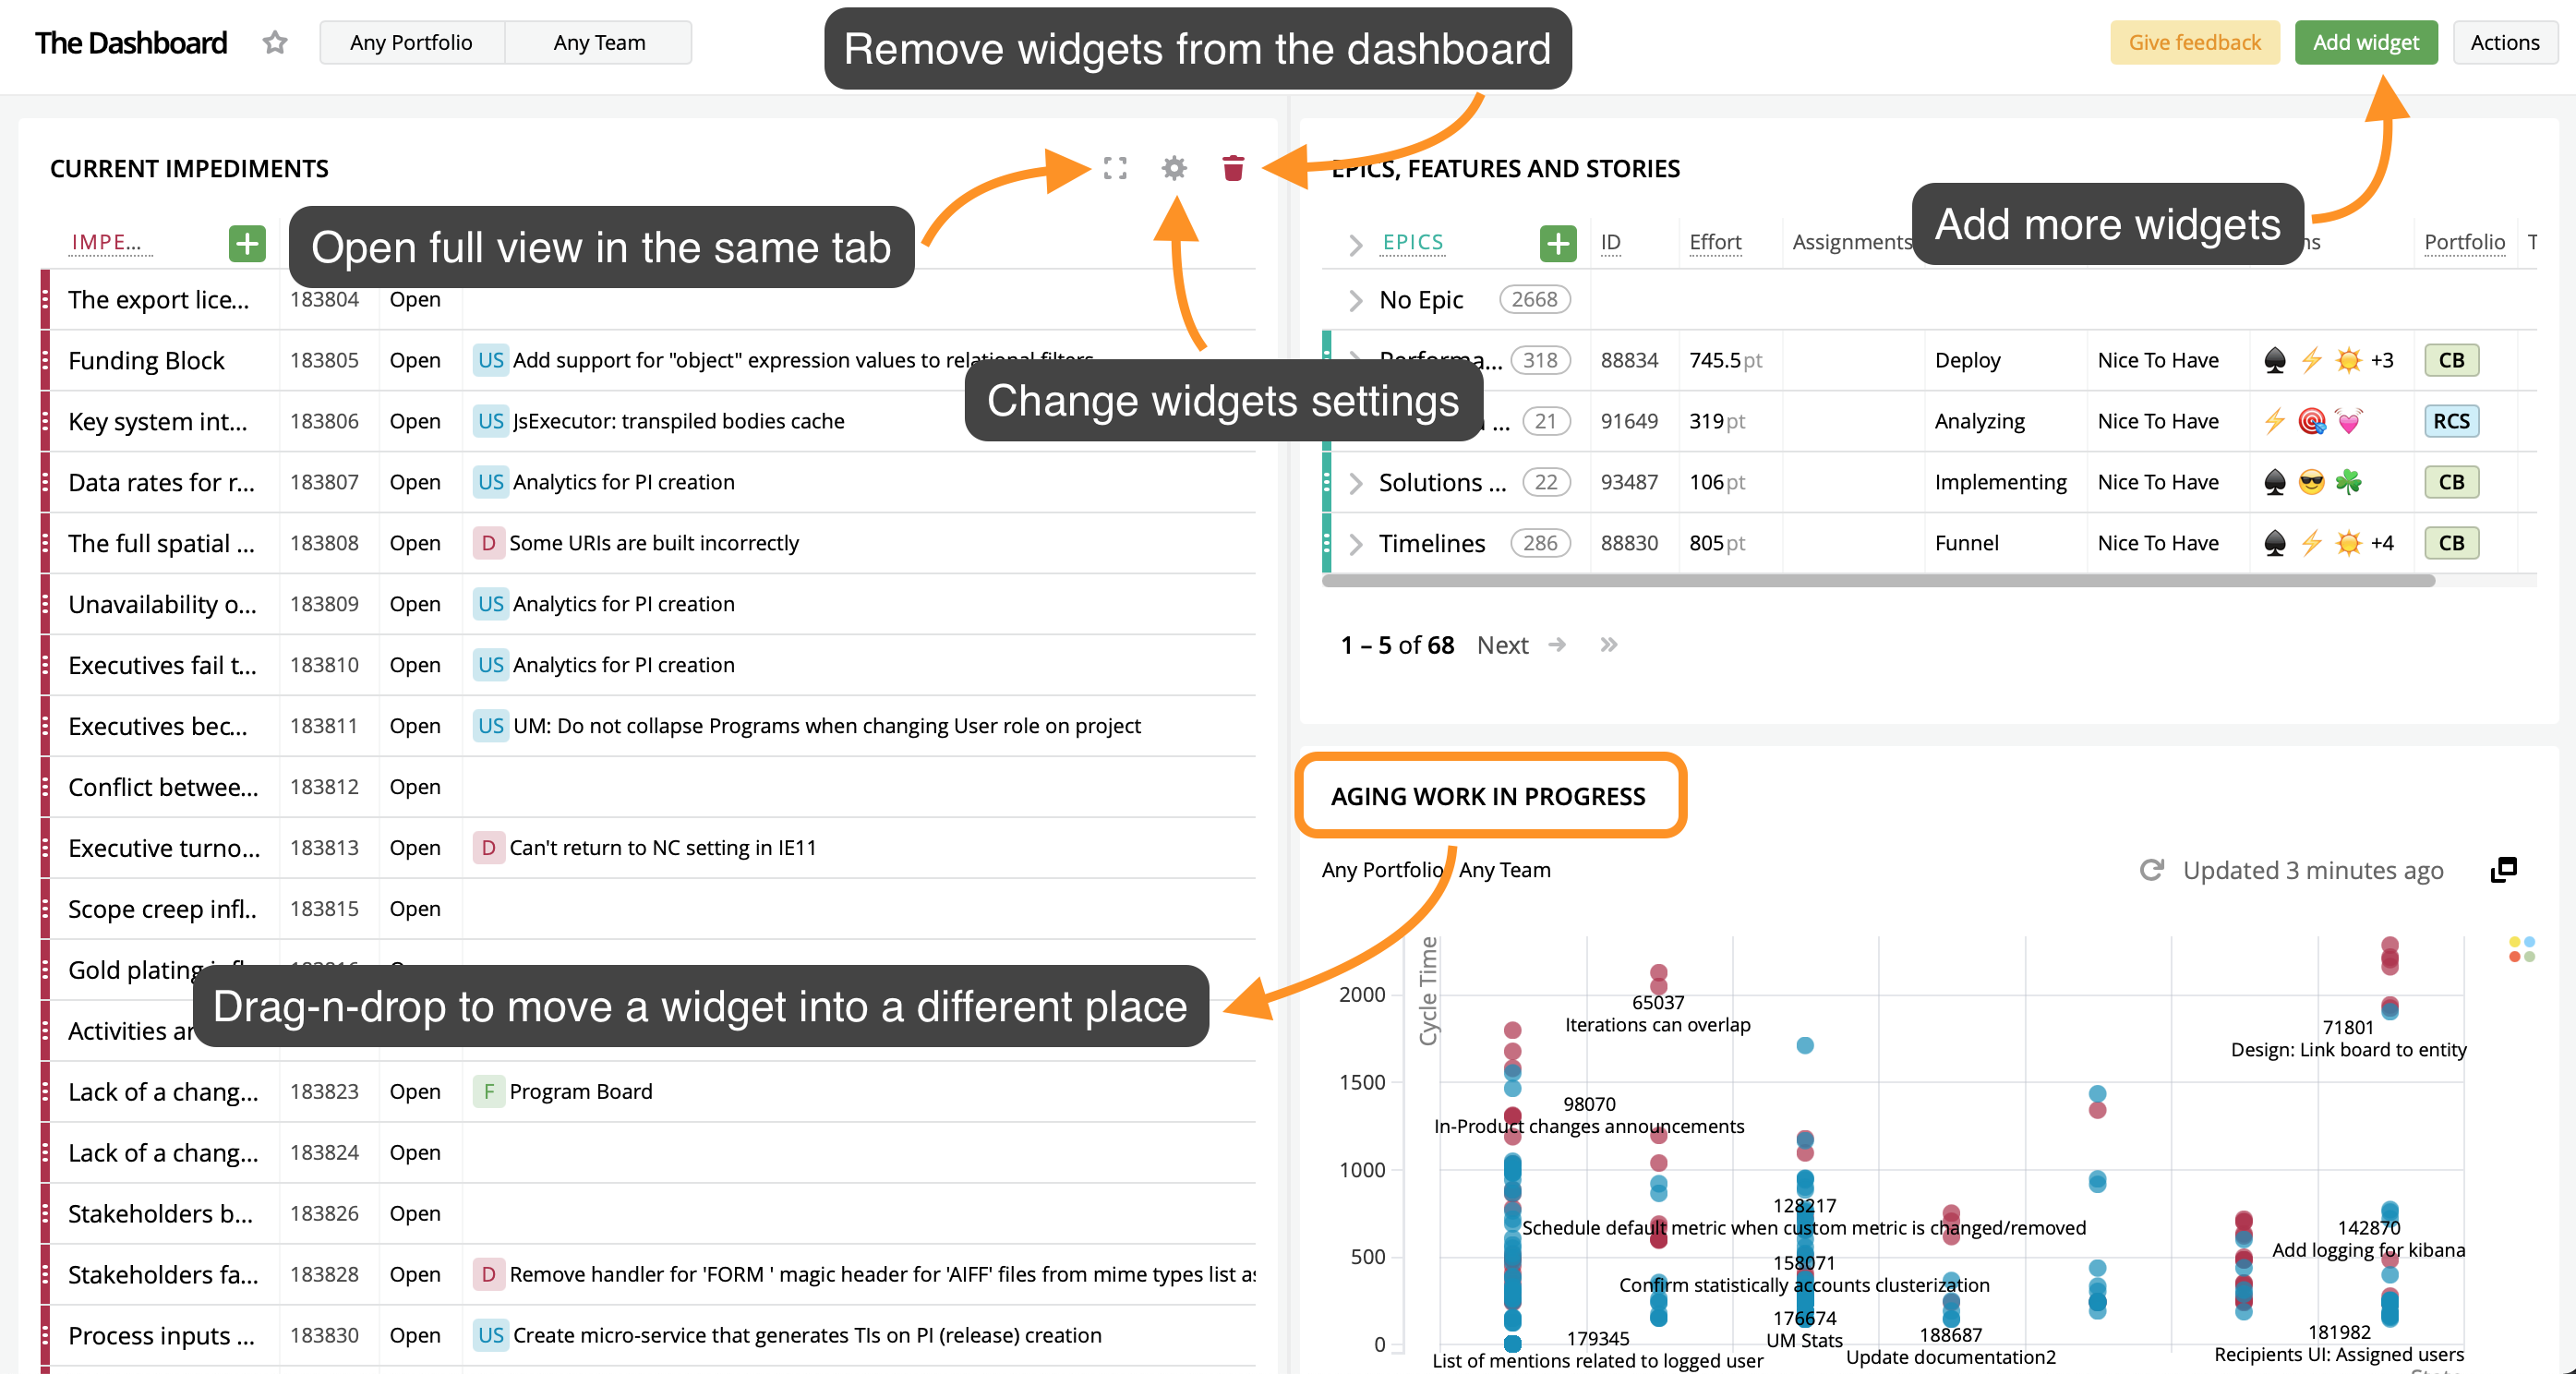
Actions you can perform on widgets:
- Remove a widget from the dashboard with a single click on the trash can icon. You can always add it again from the widget library.
- Change widget settings. For example, to change the filter in a List widget, click on the cogwheel icon to see available settings.
- Rename a widget with a double-click on a widget’s name.
- Open full view in the same tab with a click on the [ ] icon.
- Move a widget by dragging its title to the desired position.
See a detailed review of widgets here.
Dashboard layout
Since v2104, you can create a dashboard with your own layout by dragging a title of a widget to the desired position.
There are two types of placeholders that appear while dragging a widget:
- if the short one is displayed, then a widget will be added to the same column;
- if a full-height placeholder is displayed, then a column will be added.
There are many different use cases for dashboards. You will likely create many dashboards for different needs. Here are some examples that might be useful.
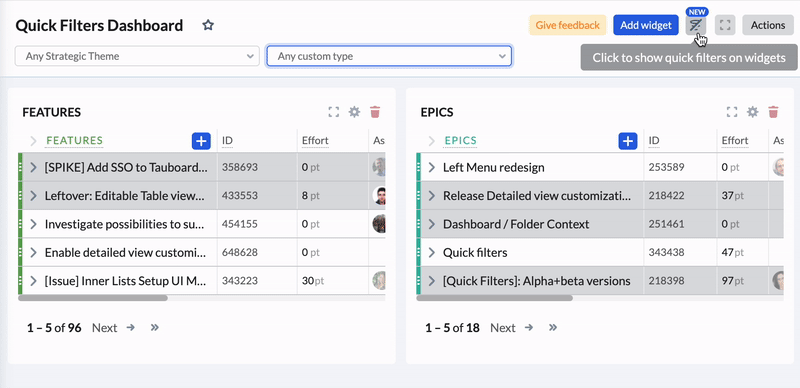
Quick filters
Starting from v2109.4.0 you can filter widgets having the same types of quick filters in one click because they now unite into single filter and appear in Dashboard header. Different values of quick filters will merge into one list:
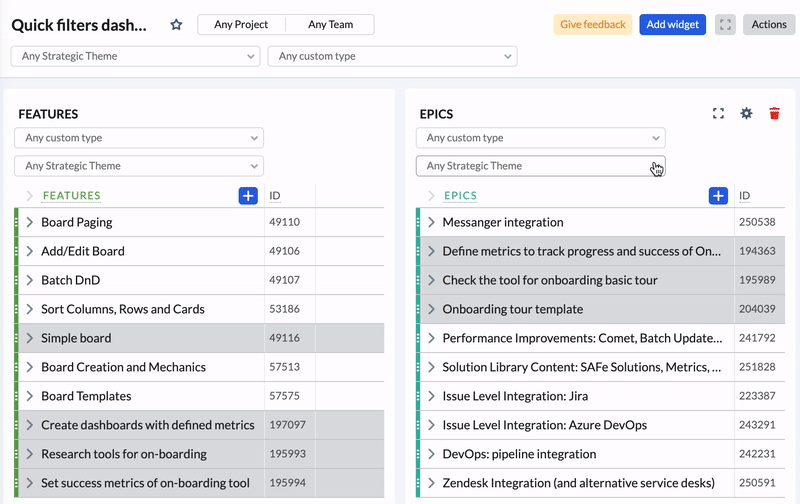
Value selected in Dashboard will apply to list/report/roadmap widgets with the same filter type even if this particular value isn't available in some of the widgets:
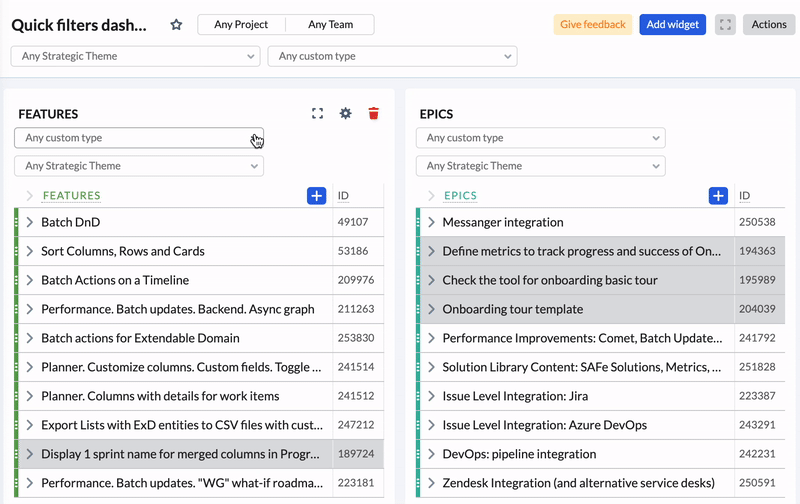
If you want to free space on a widgets you can hide quick filters from all the widgets by clicking 'Hide quick filters on widgets' button:
May be important to know:
- When widgets' filters of the same type have different values selected then Dashboard filter will show Any as value.
- In case filters of the same type have different values and value that is not presented in filter applies to widget and user selects one more value from the widget itself then error message appear: This filter has values inherited from a dashboard filter that doesn't exist in the widget itself. If you want to update this filter, first please uncheck that values. Sorry for the inconvenience.Which means that you will have to unselect 'alien' value and only after that you will be able to update widget's filter.
- If widget have 2 or more quick filters of the same type but with different values, they can stay in different state only when update them from the widget itself one-by-one, not using the common dashboard filter
- After a widget has been added to a dashboard, you will need to full screen the widget in order to make edits to it.
Still have a question?
We're here to help! Just contact our friendly support team.
Find out more about our APIs, Automation Rules, Mashups and custom extensions.